Uncategorized
What Should You Consider Before Installing a Composition Roof?
Embarking on the journey of installing a new roof is a significant decision that requires thoughtful consideration, especially when opting…
June 14, 2025Thinking of switching to solar energy in Mill Creek, WA? Inspecting your roof beforehand is a crucial step to ensure your home is ready. Let’s dive into the essential steps you need to take during a home inspection.
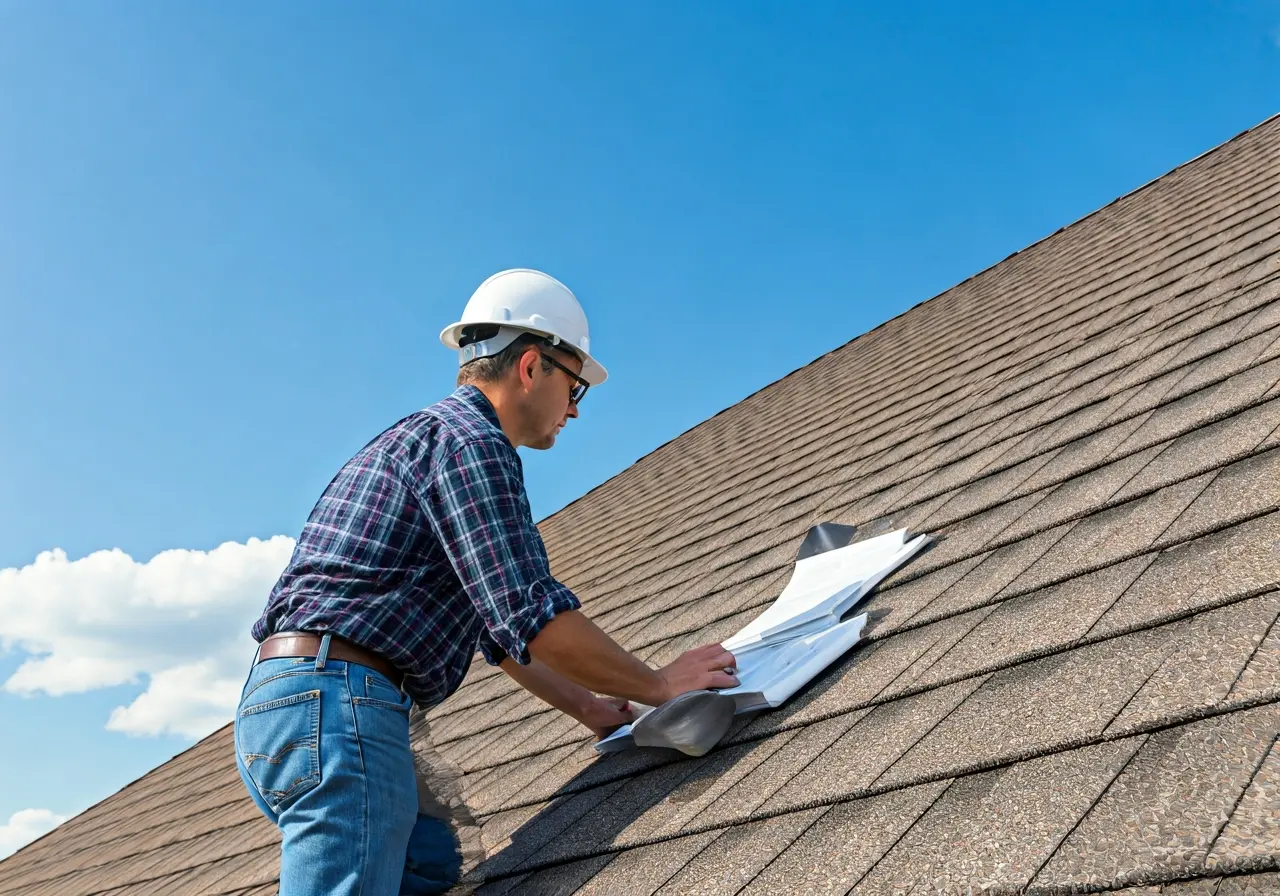
Before installing solar panels, it’s important to evaluate the current state of your roof. Check for any signs of wear and tear that might need attention before proceeding with solar installation. A roof that is near the end of its life may not be the best candidate for solar panels until it’s replaced or repaired. Consider the age of your roof carefully—older roofs might require a replacement or significant repairs. If the roof is notably old or has visible damage, addressing these issues beforehand can prevent unforeseen complications during or after the solar installation.
A professional home inspection in Mill Creek, WA, can provide detailed insights into the health of your roof. An inspector will thoroughly assess shingles or tiles for curling, cracking, or missing pieces. They will also check for any signs of prior repairs that might impact the overall integrity. Knowing about these issues in advance allows you to plan for necessary repairs or even a roof replacement, ensuring a stable base for your solar investment.
A solar panel system adds weight to your roof. Ensure that your roof’s structure is sturdy enough to support the additional load without causing any damage. The combined weight of solar panels could present a risk if your roof structure is not properly inspected. A robust framework is essential to avoid any bowing or sagging over time, which could potentially lead to costly repairs.
Consulting with a structural engineer or specialist might be necessary to thoroughly check the integrity of your roof framing. They can ascertain if the framework can handle the extra weight and suggest reinforcements if necessary. Reinforcing your roof structure not only supports the solar panels but also maximizes their efficiency by maintaining panel position and alignment over time. Thinking ahead can spare you from future inconveniences!
Not all roofing materials are ideal for solar panels. Evaluate whether your roofing material can securely accommodate the panels for optimal performance. Different materials interact differently with solar panel mounting systems. Asphalt shingles are often the most compatible, whereas wood shakes or slate could be more challenging to work with.
If you’re unsure about your roof’s material compatibility, seek advice from a professional roofer or your solar provider. They can guide you through necessary modifications or suggest alternative materials that might work better. The compatibility of your roof material is essential, not only for the initial installation but also for long-term sustainability. Ensuring the right fit keeps your investment safe and functioning efficiently for years to come.
Addressing existing leaks is crucial before installing solar panels. Ensure there are no leaks that could compromise the solar installation or your home’s integrity. Leaks can allow water to seep under the panels, leading to damage or corrosion over time. Water damage is not only detrimental to your roof, but it can also affect the performance of your solar panels.
During the inspection, check existing seals around vents, chimneys, and skylights, as these are common entry points for water. It’s wise to repair any issues immediately to prevent larger problems down the road. A leak-free roof ensures a safe environment for your solar panels, preventing future headaches and safeguarding the home’s interior.
Proper roof ventilation is vital for maintaining the health of your entire roofing system. Ensure vents are clear and functioning to prevent potential issues. Well-ventilated roofs prevent moisture buildup and help keep the temperature down, prolonging the lifespan of both the roof and solar panels.
A thorough inspection should include a check of attic spaces and roof vents to ensure airflow is not obstructed. You might need to install additional vents or fans to improve ventilation, particularly if you’re in a climate with high temperature fluctuations like Mill Creek, WA. An optimally ventilated roof not only supports solar performance but also aids in overall home efficiency.
Remove any debris such as branches, leaves, or moss that could obstruct or damage your solar panels once installed. Debris can block sunlight, affecting the panels’ efficiency. Ensuring a clean surface will allow maximum sunlight absorption, which is the heart of a successful solar setup.
Periodic cleaning and maintenance of your roof will prevent debris buildup over time. This is particularly important for homes surrounded by trees or in areas experiencing frequent storms. Consider a maintenance schedule to keep your roof clear, safeguarding the efficiency and longevity of your solar panels and roof alike.
Consider your roof’s longevity and schedule future maintenance to keep your roof and solar panels in top condition. Planning proactively helps avoid major surprises and expenses. Regular inspections can catch minor repairs before they escalate, ensuring your roofing system stays strong and your investment remains sound.
Discuss long-term maintenance strategies with your solar provider to align roof care with your solar panel maintenance. Understanding warranties and ensuring access without disturbing the solar panels can streamline any necessary interventions. By thinking ahead and planning purposefully, you’ll enjoy a hassle-free solar experience.
Embarking on the journey of installing a new roof is a significant decision that requires thoughtful consideration, especially when opting…
June 14, 2025☀️ A Dual-Expertise Edge: Roofing & Solar You Can Depend On At Pinnacle Roofing Professionals, we go beyond being just…
August 2, 2025